Connectors
Configure Connectors
To create, modify, or delete an Archibus Connector, you run the System / System Administrator / Configure Connectors task. This task invokes a series of tabbed forms that walk you through a series of Archibus system tables for defining the properties of the various Connector objects.
The Connector tables are:
| Table | Description |
|---|---|
| Connector Properties (afm_connector) |
Defines the datasource for importing, exporting, or accessing data |
| Connector Fields | Defines the meta-data mapping, transformation and per-field validation rules. For example, EmployeeID (as in Microsoft’s Northwind sample database) might map to em_id in Archibus. |
| Connector Rules | Holds optional custom rules for scripting elements of the transfer |
| Connector Log | Holds the log that holds the results from the previous invocation of the connector |
You can obtain powerful results by defining the Connector properties and fields; the forms offer a wide variety of standard options for mapping, lookups, masks, transformations, and error handing.
However, should you need to script more detailed logic, use the Connector Custom Rules to augment portions of the Connector logic. You can alter the mappings, pre-processing or post-processing, or transaction-level interfaces. In addition, your own scripts have runtime access to all of the Connector property and field data, so that your own logic extensions can build on the standard Archibus behavior. The Custom Rules give the Connectors a tremendous amount of flexibility and power.
Step 1: Select a Connector
The first tab of the Configure Connectors task enables you to review, select, and create new Connectors. Use the Smart Search Console to restrict the list of Connectors.
To select a Connector, click on the Connector Code text and form will direct you to the Properties tab of the selected Connector.
To create a new Connector, select the Create New Connector action and the form will direct you to the New Connector Properties tab.

Step 2: Enter properties of a Connector
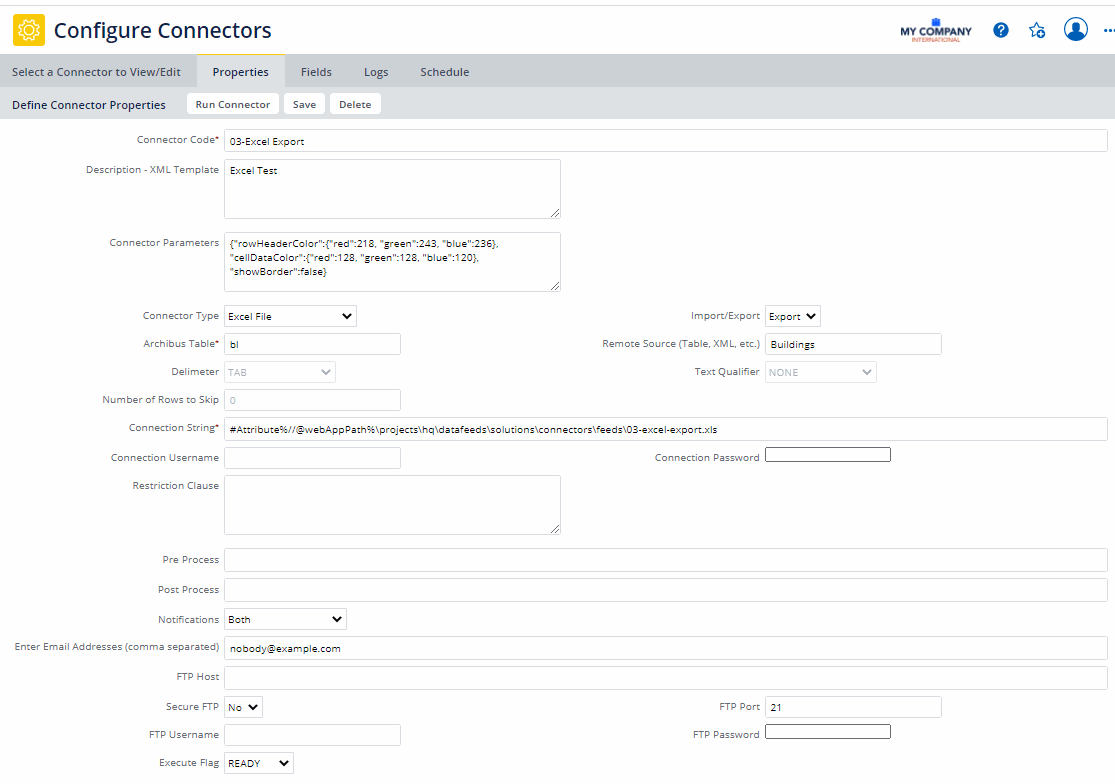
The Properties tab shows all the properties of the selected Connector. The properties and behaviors of each Connector option is configurable at run time and in the database. For information on completing the fields of this tab, see Connector Properties table.

Step 3: Define the mapping between the source and destination fields
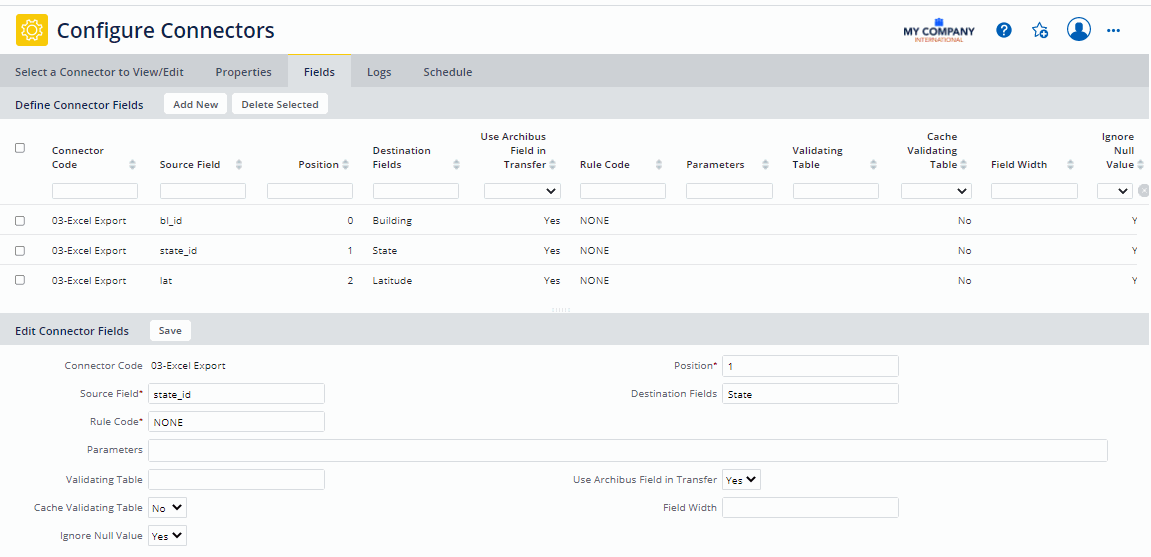
Once the Connector is defined, use the Connector Fields table to specify the field mapping between the source and destination fields of Archibus and the remote system.
Each Connector can define as many fields as required to transfer data between the systems. Each field mapping can define the mapping properties and rules for how the data should be handled from one system to the other. For information on completing the mapping, see Connector Fields table.

Ongoing: Review the log
Each time a Connector is executed, the Connector records various events into the Connector Log table (afm_conn_log) to monitor the progress of the Connector execution.
When a Connector is executed from the Properties Tab of the Configure Connectors process, the wizard automatically displays the "Logs" tab with the results of the current execution.

As the Connector executes, you may wish to refresh the log to watch the progress. The default behavior of the Connector logging process is to log the following events:
- periodic progress (every 1000th record processed)
- total number of processed records
- other items for specific Connector Rules
In addition to the Logs tab pictured above, you can view the Connector Logs through these tasks:
- System / System Administrator / Execute Connectors
- System / System Administrator / View Connector Logs
Run a Connector
In addition to scheduling the time a connector should run, you can run a connector immediately by selecting the System / System Administrator / Execute Connectors task. This task loads the Run Connectors view. Choose a connector to run, click Run Connector, and you can view its execution in the log in the lower panel.
Schedule a Connector to Run
Typically, Connectors run as an unattended, off-hour, process using the standard Scheduled Workflow Rule process defined in the Workflow Rules table (afm_wf_rules). However, if you wish, you can schedule a connector to run at a specific time.
To configure a scheduled Connector, navigate to the Schedule tab, complete the Repeat Interval, Start Time, and Time of Day fields, and specify whether the Connector should run upon start-up of Web Central. Next, select the Set Schedule button to create or update the Workflow Rule record for this Connecter. Note that changes to Connector schedules will not take effect until the Web Central service is restarted.
The settings pictured below create an XML schedule configuration for the scheduledConnector_Text Export Workflow Rule. The Text Export Connector will execute at 12:00 AM and repeat every 86,400 seconds (24 hours - daily), starting June 11, 2012.

The corresponding code is:
<xml_schedule_properties>
<schedule startTime="06-61-2012 12:00:00" endTime="" runOnStartup="false">
<simple repeatCount="-1" repeatInterval="86400"/>
</schedule>
</xml_schedule_properties>
You can also schedule connectors using Cron expressions. See Scheduling Connectors Using Cron Expressions.