System / Add-In Manager / Reports Central
Foundations / Background Data & Reports / Reports Central
Add a Table to the Report and Set its Sort Order
The first step in defining your new report is to specify the table on which you want to report. You can choose from a list of the tables in the Archibus schema for which you have security group access.
Note: Although you choose only one table in this step, when you specify the fields to display you will be able to include fields from tables that are related to the selected table. For example, for a report on the Rooms table, you can display fields from the related Floors and Buildings tables.
Procedure
-
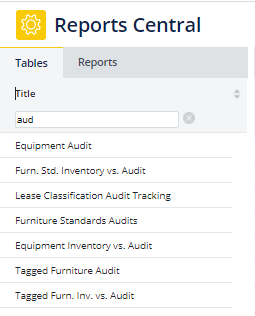
In the left panel, click on the Tables tab to display its content.
-
Search for the desired table by the table title. Enter a word, or the first few characters of a word, that is part of the table title and press Enter. For example, enter "aud" for a list of all tables whose title include the word "audit."
-
Select a table from the list, and it displays in a grid in the right side of Reports Central. The table displays with a default set of fields: typically the primary key, foreign key, and Description fields. You can change the displayed fields.
-
If the selected table was not the table you desired, select another table from the table list. This second table replaces the first table in the right side of Reports Central.
Sort the Grid's Data
Once the grid displays the selected table, you can use the grid's tools to sort the data by the desired field.
When you save and publish the report, the report will be saved with the sort order that you set. Report consumers will see this default sort order, but they can re-sort the grid to their liking.
Work with the Report's Grid
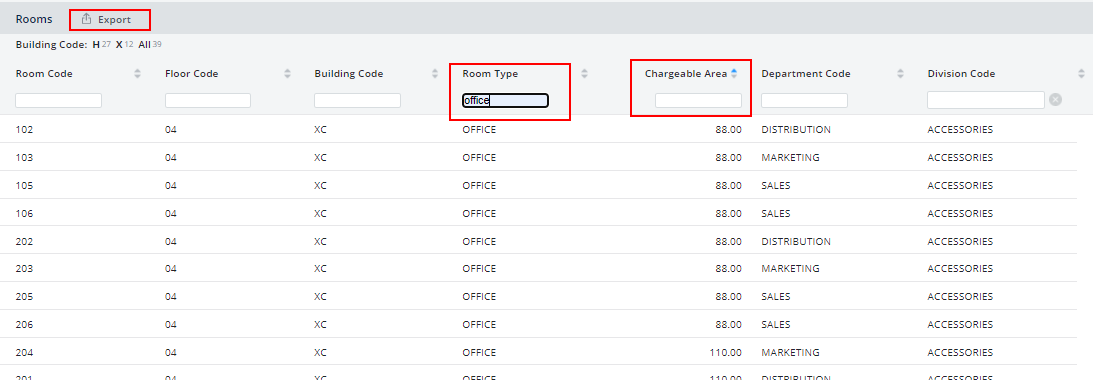
Use the grid's tools to:
For example, the below image shows a grid whose records are sorted in Ascending order by Chargeable Area and shows only records of the OFFICE Room Type.
Next
Back to